Well it's here at last!! My first video tutorial! And what a pain it has been to get from my desk to here...my camera only records 10minute chunks of film & the batteries only last for 15minutes...then tranferring the files to my computer takes 10minutes per file - I think the whole card took like 2 hours or something ridiculous - and then there was the editing (let's not go there).
Credit where credit is due, the original idea for this technique was from the lovely Mel, so please visit her blog - you'll be hooked just like me! She has some seriously zany ideas, and they're great :-) The post I took the inspiration from is here.
Anyway, I'm pretty happy with the results, and I hope you get some enjoyment from watching it. Any (constructive!) comments would be appreciated. Thanks so much for watching!
Monday 28 July 2008
Birthday Wishes with Cuttlebug Crayon Resist
Labels:
Birthday,
Cuttlebug,
Embossing,
Video Tutorial
Wednesday 16 July 2008
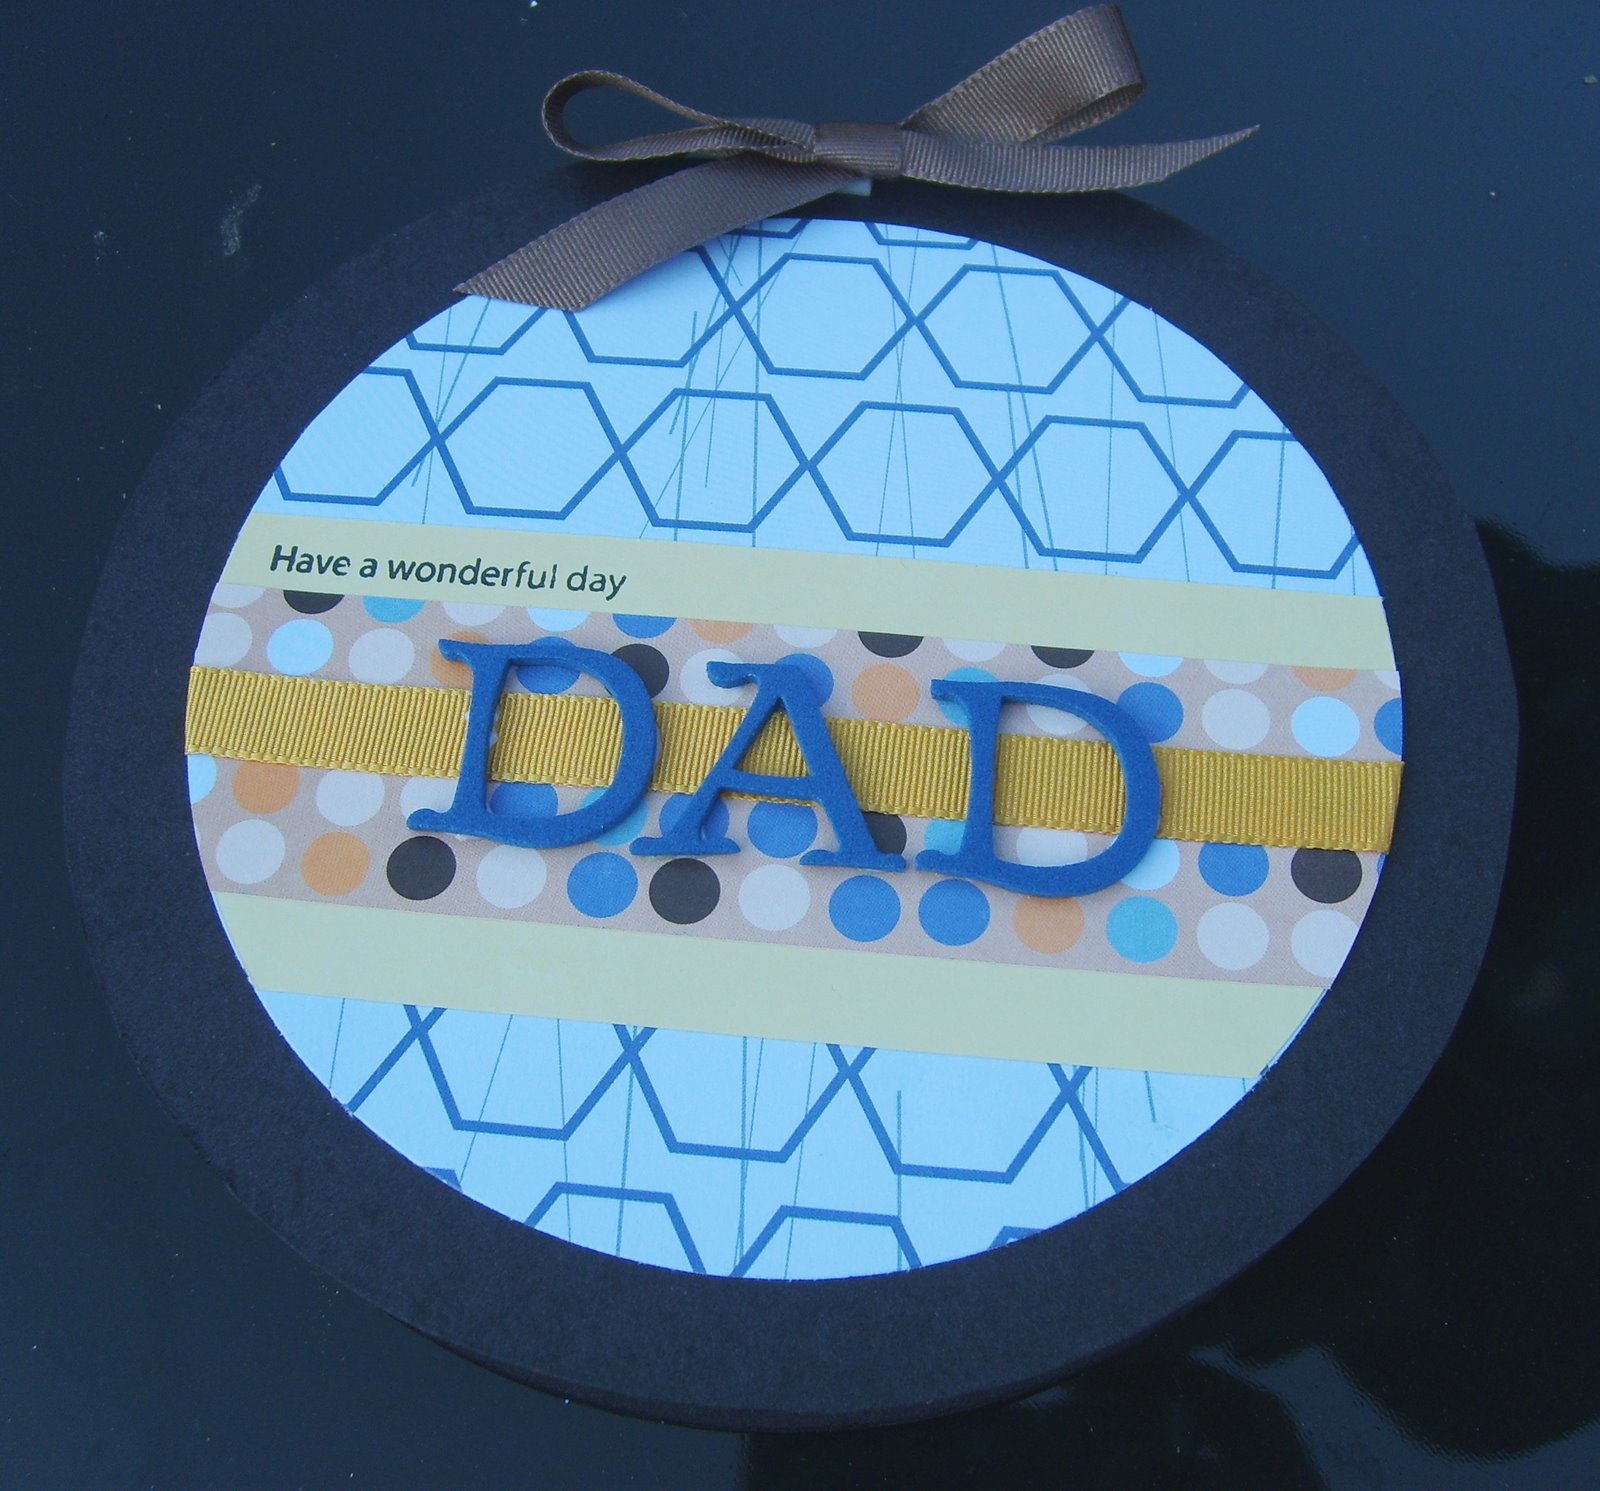
Have a wonderful day DAD
!!!!NEWSFLASH!!!!: Finally, a masculine card that I (a) love and (b) didn't want to throw across the room once whilst making it! A success for me, then!?!
This card was actually really easy. I'd been doing a bit of blog surfing and seen a few round cards that I loved, so I thought I'd try one of my own.
The papers are simply cut to the correct size and stuck together, and as men don't like too much faff, no sparkles :-( and the DAD was cut out of funky foam using the Olivia alphabet on the bug.
 This was for a friends Dad's birthday, but rest assured I shall be rolling this one out with a great frequency for all my male rels and friends. Once you're onto a good thing, why waste it, huh? I'll just change a few colours round and hey presto, another unique handmade card! Yay!
This card was actually really easy. I'd been doing a bit of blog surfing and seen a few round cards that I loved, so I thought I'd try one of my own.
The papers are simply cut to the correct size and stuck together, and as men don't like too much faff, no sparkles :-( and the DAD was cut out of funky foam using the Olivia alphabet on the bug.
Just to say...Thank You to a Special Friend!
So I had to thank these lovely ladies, and what better than to thank them with a handmade card?!?
For this, I used a new technique I read about on Mel Stampz blogspot, using crayons with the Cuttlebug embossing folders. Good old crayons - I'd not used these since I was a kid! So basically, I ran some white card through the bug, using the Floral Fantasy folder. I then rubbed over the card (still in the folder to support the raised embossing) using a white crayon. I then washed over the whole card in a black dye ink wash, fairly strong, as it dries a lot less dark than when you first apply it. I then waited for this to dry. You can force dry it with a heat tool, but I found this didn't come out so well, so PATIENCE is needed!!
I then did a similar thing using black card for the strip across, adding some faux stitching using a piercing tool and a white gel pen. I also doodled around the floral embossed pattern to give it a bit more pop, but you could use a white wash after the crayoning if you wish. For the top strip, I used white card and simply washed it with the black dye ink wash that I'd used for the embossed main panel. I then stamped and white embossed the sentiment and put the card together. However, I would recommend stamping the sentiment before adding the faux stitching as the gel pen will also attract the embossing powder and it can get a little fiddly/messy.
I added some gem accents, and a bit of sparkly glitter to give it a bit more oomph, then stuck a white insert in to write my gushing thanks and praise...
My intention is to upload a video on this technique. I have done it, I just need to edit it, and as this is the first one I've ever done, there is a lot of trial and error, but I will get it done soon!
Labels:
Cuttlebug,
Techniques,
Thank you
Subscribe to:
Posts (Atom)
