Hi – I just wanted to share with you my eagerly awaited “Miss Anya” stamps and I thought I’d film the process of me cutting them out as a quick tutorial for you all. They don’t come with instructions on how to prepare the stamps, so I thought it’d be a great opportunity to show you how I recommend you do it…
This is a popular new way of selling rubber stamps to save on precious craft storage/space, so it's important we know how to prepare them for the best stamping experience!! This technique uses stamps that come prepared on mounting foam such as 'EZ Mount', which is perfect for temporarily adhering to acrylic blocks in a similar way that acrylic stamps do. If your stamps just come as just the rubber, you can easily adhere them to something like EZ Mount then follow this same process. DO NOT CUT OUT your rubber stamps until they are fully adhered to some sort of mounting foam such as EZ Mount. Trust me, you’ll be in a world of pain if you do…
I hope you find this tutorial informative - please pop over to my YT channel to rate & subscribe. Thanks for watching!
Monday 7 September 2009
How to cut out foam-backed rubber stamps
Labels:
Stamping,
Techniques,
Video Tutorial
Sunday 6 September 2009
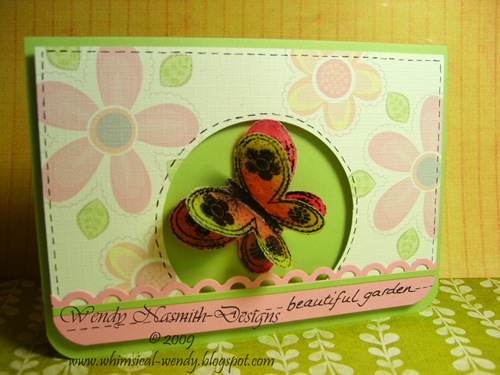
Butterfly Garden

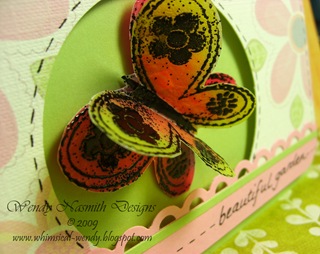
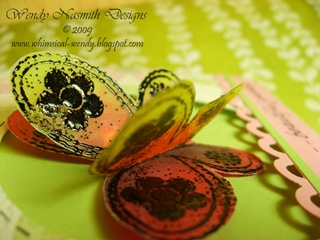
I wanted to have a play around with something 3d for this card…so I used vellum to create this really vibrant colourful butterfly. I’ve used some digital stamps and clipart from MyGrafico. First off, I prepared the vellum with 4 or 5 layers of acrylic matte gel medium. This was to strengthen the vellum, so it would be able to stand up to being the 3d focal point of this card without going flat/creased or (worse still) tearing, due to the vellum being so delicate. I used gel medium because it dries matte and clear. If you’re on a budget, you can always use PVA glue on the reverse of the design as this will do the same thing, but of course it will dry shiny not matte.
 I used clear embossing powder to ‘set’ the digital print out on the vellum, but then I re-heated the clear embossing powder and whacked some black e.p. over the top. Doing it this way instead of hitting it with the black e.p. first off, gives you a much messier, splotchy effect.
Depending on what you’re going for depends which way you approach this. I liked the effect – after all, butterflies don’t tend to be subtle, pastel coloured things – they’re usually vibrant and gorgeous in their brilliance. I like the fact that this butterfly STANDS
 OUT but doesn’t overpower the card. Shame I forget its antennae…was going to add some twisted wire, but I forgot. Oops!
The video below shows you the card from start to finish. I hope it’s informative and shows you how great the digi stamps and clip arts can be when combined in a project. I just love playing about with them – in fact the only thing that is holding me back now is my printer’s run out of ink! ;0)
Please hop over to YT to rate and subscribe…thanks for watching!
Labels:
Coluzzle,
Digital Stamping,
Faux Stitching,
Handwriting,
Ideas,
Video Tutorial
Subscribe to:
Posts (Atom)
